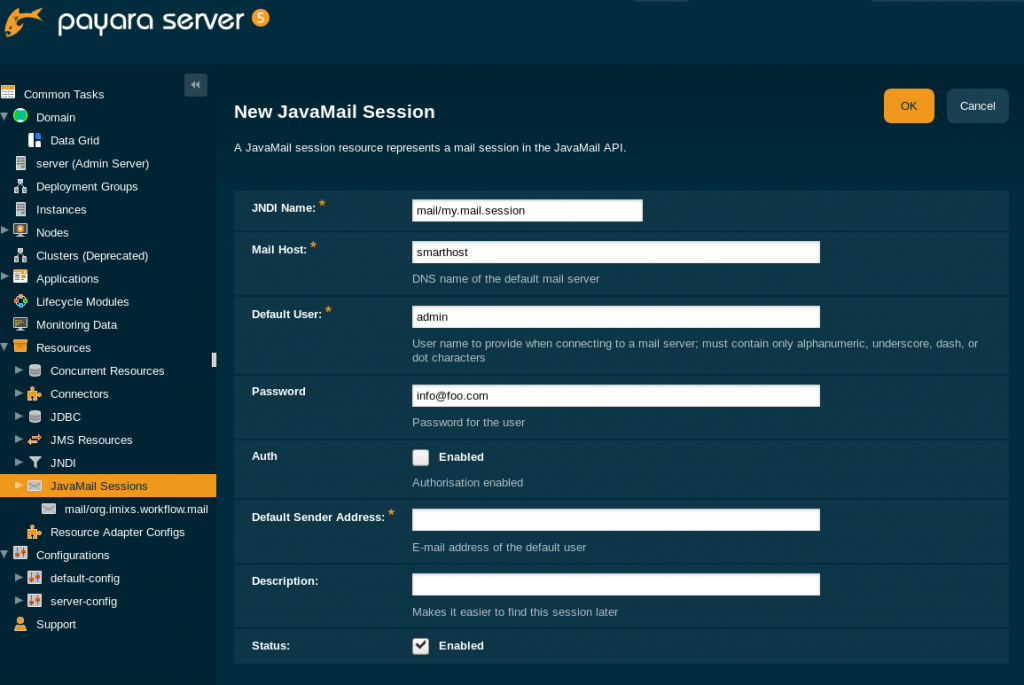
When I started with the Application Server Glassfish years ago I used to configure the Server always directly in the domain.xml file. This is the file containing the configuration and all your customizations when you configure your Glassfish form the Web Admin Interface. The same is true for Payara Server which is more widespread in projects today. (The main different from Glassfish to Payara is, that Payara offers support where Glassfish is the reference implementation for Jakarta EE).
I’ve never gotten rid of my habit of configuring the server directly in the domain .xml, although there is a command-line tool called ‘asadmin‘ for doing the configuration. When you run you projects in Docker you even can copy the domain.xml into a Payara Docker image as you will do with your application. But these days I learned that this is a clumsy and impractical way to do this. The problem with tweaking the domain.xml directly is that you can miss some important XML tags or new coniguration details. So using the asadmin tool is more stable also over differnt versions of Payara.
Docker and asadmin
To configure the Payara Sever directly in your Dockerfile can be done easily when you use so called Preboot and Postboot commands. This are asadmin commands which can be placed in separate files.
So simply create two files called post-boot-commands.asadmin and pre-boot-commands.asadmin and copy these files into your custom Payara Docker image using the COPY command in your Dockerfile:
FROM payara/server-full
# add configuration files
USER root

# Preconfigure Resources
COPY ./my-scripts/preboot-commands.asadmin $POSTBOOT_COMMANDS
COPY ./my-scripts/post-boot-commands.asadmin $POSTBOOT_COMMANDS
RUN chown payara $POSTBOOT_COMMANDS

## Copy additional deployments here
## e.g. Postgres Driver
COPY ./my-scripts/postgresql-42.2.5.jar /opt/payara/paasDomain/lib/
...
USER payara
The Preeboot and Postboot scripts can contain any asadmin command to configure your server. For example to configure a JDBC Database Pool for Postgres the command will look like this:
# Create the JDBC connection pool for Postgres:
create-jdbc-connection-pool --datasourceclassname=org.postgresql.ds.PGSimpleDataSource --restype=javax.sql.DataSource --property user=${ENV=POSTGRES_USER}:password=${ENV=POSTGRES_PASSWORD}:Url=${ENV=POSTGRES_CONNECTION} my-database

# Create the JDBC resource:
create-jdbc-resource --connectionpoolid my-database jdbc/my-database
Now build your Docker image and start you server:
$ docker build -t my-payara .
$ docker run -p 8080:8080 my-payara
The Payara server will automatically execute the PreBoot and PostBoot scripts during startup and creates the configuration. In case your command is wrong or misspelled you will see the error message in the log file directly in the log file.
That’s it. Now you have a stable configuration setup for a Payara Docker Image that you can easily adapt to the latest version of Payara by simply upgrading the payara version in your Dockerfile.


 To setup a docker stack with Glassfish/Payara Server and a PostgreSQL Database Server is really easy, as the Payara project provides a good designed docker container. In the following short tutorial I will explain how to setup a simple development environment with a Glassfish/Payara server and a PostgreSQL Database.