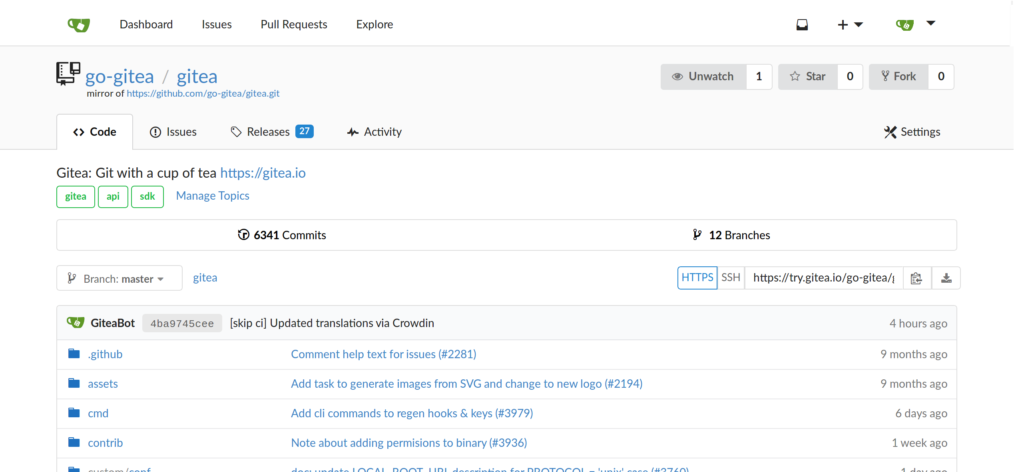
Gitea is an open source, self hosted git repository with a powerful web UI. In the following short tutorial I will explain (and remember myself) how to setup Gitea on single virtual cloud server. In one of my last posts I showed how to run Gitea in a Kubernetes cluster. As I am using git also to store my kubernetes environment configuration it’s better to run the git repo outside of a cluster. In the following tutorial I will show how to setup a single cloud node running Gitea on Docker.

Docker and Docker-Compose
I assume that you have a single internet node running on a virtual host or on bare metal. I personally use virtual cloud servers from my hoster Hetzner. A small host with 1 CPU and 2GB Ram is sufficient. So the monthly costs are below 3 EUR per month.
You should work with a non-root user to setup Docker and run Gitea. To install Docker follow the official install guides for Docker CE and Docker-Compose. Make sure your non-root server is member of the group ‘docker’. Also you need later the user ID. Check this with:
$ idThe Service Stack
I run Gitea on PostgreSQL. So I need two services in Docker-Compose. See my docker-compose.yaml file:
version: "3.6"

networks:
  gitea:
    external: false

services:

#######################################
# Gitea Server
#######################################
  server:
    image: gitea/gitea:1.13.2
    container_name: gitea
    environment:
      USER_UID: 1000
      USER_GID: 1000
      DB_TYPE: postgres
      DB_HOST: db:5432
      DB_NAME: gitea
      DB_USER: gitea
      DB_PASSWD: 12345
    restart: always
    networks:
      - gitea
    volumes:
      - ./gitea:/data
      - /etc/timezone:/etc/timezone:ro
      - /etc/localtime:/etc/localtime:ro
    ports:
      - "443:443"
      - "222:22"
    depends_on:
      - db

#######################################
# postgress
#######################################
  db:
    image: postgres:9.6
    restart: always
    environment:
      POSTGRES_USER: gitea
      POSTGRES_PASSWORD: 12345
      POSTGRES_DB: gitea
    volumes:
      - dbdata:/var/lib/postgresql/data
    networks:
      - gitea

volumes:
  dbdata:
There are two important things:
First take care about the environment USER_UID and USER_GID. These are this ids of your non-root server to be used to run gitea.
The second important configuration here is the data folder mapped to the host directory ~/gitea/ . This is the place where you can find the git repo and the gitea configuration.
Ports
In the section ports of the docker-compose file you can see that I expose the ports 443 and 222. The port 443 is the HTTPS port for the web ui and the port 222 is the SSH port. We can not use the default port 22 here because this is already used by our server.
Let’s Encrypt
Gitea comes with a Let’s Encrypt module which automatically generates a server certificate when gitea is starting. To configure Let’s Encrypt you need to tweak the Gitea configuration. Therefore open the file gitea/gitea/conf/app.ini with your preferred editor. In this file you can find the section [server] where you should configure the following settings:
...
[server]
APP_DATA_PATH    = /data/gitea
DOMAIN           = example.com
SSH_DOMAIN       = example.com
HTTP_PORT        = 443
ROOT_URL         = http://example.com
DISABLE_SSH      = false
SSH_PORT         = 222
SSH_LISTEN_PORT  = 22
PROTOCOL=https
ENABLE_LETSENCRYPT=true
LETSENCRYPT_ACCEPTTOS=true
LETSENCRYPT_DIRECTORY=https
LETSENCRYPT_EMAIL=info@example.com
.....
In this example I use the Internet domain name ‘example.com’ for my host. Enter your own domain name here. Also I define the HTTP port 443 which is the SSL port we used in the Docker-Compose file before.
Dry Run…
Now you are ready for a first start:
$ docker-compose upYou will see the log file messages which should end with something like this:
....
gitea          | 2021/02/26 09:03:52 cmd/web.go:163:runWeb() [I] Listen: https://0.0.0.0:443
gitea          | 2021/02/26 09:03:52 cmd/web.go:166:runWeb() [I] LFS server enabled
gitea          | 2021/02/26 09:03:52 ...s/graceful/server.go:55:NewServer() [I] Starting new server: tcp:0.0.0.0:443 on PID: 15
gitea          | 2021/02/26 09:03:52 cmd/web.go:78:func1() [I] Running Let's Encrypt handler on 0.0.0.0:80
gitea          | 2021/02/26 09:03:52 ...s/graceful/server.go:55:NewServer() [I] Starting new server: tcp:0.0.0.0:80 on PID: 15
This indicates the the Let’s Encrypt handler is started successfully on port 80 and port 443 is populated as new server port. You can now access your gitea server via: https://example.com
Customization
Gitea offers many ways to customize the UI and functionality. Most of the configuration can be done in the property file ./gitea/conf/app.ini . You can find a complete list of properties and options in the Gitea Cheat Sheet .
After you have changed and saved the app.ini file you need to restart the stack.
$ docker-compose down
$ docker-compose up
Running Gitea in the Background
If everything is fine you can finally start docker-compose as a background daemon with:
$ docker-compose up -dThis will run Gitea permanently. To check the log files run:
$ docker-compose logsConclusion
Gitea is a very powerful git repository with is fast and easy to install. With With the official docker images and the build in Let’s Encrypt handler you can install a gitea repo on a virtual cloud sever in minutes.

Hi,
First of all, thanks for this useful post. Actually its pretty much same with what I do but there is a problem; when we expose port 22 to 222 because port 22 is being used by SSHD of our server, then another problem arises. Thats whe you gonna set your git remote or you try to clone bu using ssh syntax like; git clone git@domain:IT/test.git there is a problem. You need to mention a port because default ssh port is 22 and now we using 222. To solve this problem you need to create .ssh/config file for the user and set Host, HostName and Port variables to you can connect by using non-default 222 port. But this aproach does not satisfies me because if we think of a business logic, its not very ideal to force each developer to create a config or edit existing on just to mention port 222. Is there any other solution that I cannot think of?
Hi,
I don’t think that you need to change the ssh config on the user side. The ssh git link should look like this:
ssh://git@gitea.foo.com:222/myrepo.git
And this link should also be shown in the Web UI from Gitea.