
In my last tutorial I gave a short introduction into Eclipse GLSP and how you can get started with your own Domain specific source model. Eclipse GLSP provides a powerful and rich feature set to solve different kind of problems in the modelling area. Today I would like to show a solution to a not so rare problem in graphical modelling.
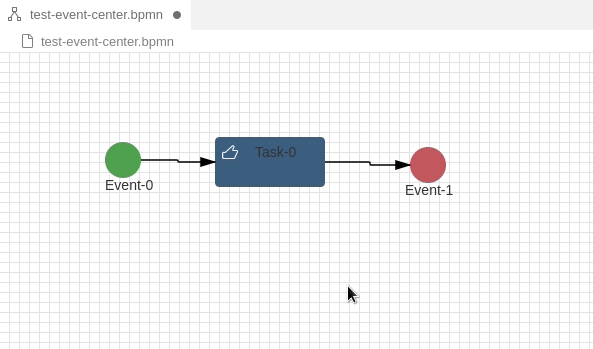
In BPMN 2.0 and other modelling languages, elements often have labels outside of the element – e.g a label below an symbol. In BPMN labels are also moveable and can be placed at any position in a diagram even if the label is associated with the symbol:
How can this be realised with GLSP? It took me a long time, but the solution is quite simple. Let’s assume you have followed my first tutorial creating your GNode Elements out from your source model. In that case you have a GModelFactory creating the GNode elements.
First we create two independent GModel elements – a GNode representing the Symbol and a GLabel representing the Label. See the following code example
public class MyModelFactory implements GModelFactory {

    @Inject
    protected MyModelState modelState;

    /*
     * Update the modelState by creating a new GLSP GModel
     */
    @Override
    public void createGModel() {
        GGraph newGModel = null;
        List<GModelElement> entityNodes = new ArrayList<>();
         // iterate over the model stored in the modelState
        MyModel model = modelState.getBpmnModel();
        for (Task task: model.getTasks()) {
            // Build the GLSP Nodes and GLabels....
            TaskNode taskNode = taskBuilder //
                    .id(task.getId()) //
                    .position(point) //
                    .build();
           entityNodes.add(taskNode);

           // now add a GLabel ....
           GLabel label = labelBuilder //
                    .id(task.getId()+"_label") //
                    .text(task.getName()) //
                    .position(point.getX(),point.getY()+40) //
                    .build();
           // finally add the label to the node list
           entityNodes.add(label);
        }
        GGraph newGModel = new GGraphBuilder() //
                .id('process_1') //
                .addAll(entityNodes) //
                .build();
        // update model state with the new GLSP model
        modelState.updateRoot(newGModel);
        modelState.getRoot().setRevision(-1);
    }
The factory creates an additional Glabel for each task and places it below the task. Now your diagram will show two independent elements – the TaskNode and the Label. Depending on your GLSP Client View both elements can be moved freely on the modeller plane.
But this is not very practical, since we always have to move both elements. What we want to achieve is that when the user moves the task, the associated label is immediately moved too. As you can see in code example above I simply set the ID of the label with the same ID as my associated symbol and added the suffix ‘_label’. With this trick we can simply find the label if we have the Symbol and also vice versa by cutting the suffix.
To solve the problem moving both elements together we simply need to select the label of a symbol each time the user clicks on the task symbol. And this can be done within the GLSP Client implementing a custom SelectionListener:
/**
 * Select an associated Label of a selected Element.
 * This allows to move both independent Nodes (GNode and GLabel)
 */
@injectable()
export class MyLabelNodeSelectionListener implements SelectionListener {
    @inject(TYPES.IActionDispatcher)
    protected actionDispatcher: ActionDispatcher;
    selectionChanged(root: Readonly<SModelRoot>, selectedElements: string[]): void {
	// we are only interested in our task elements
        const eventNodes=  getElements(root.index,selectedElements,isMyTaskNode);
        if (eventNodes.length > 0) {
	    // find the associated Labels by the id suffix
            const eventLabelIds = eventNodes.map(node => node.id+"_label");
            // and dispatch the new action
            this.actionDispatcher.dispatch(SelectAction.create({ selectedElementsIDs: eventLabelIds }));
        }
    }
}
Don’t forget to register your new custom SelectionListener in your Diagram module:
const myDiagramModule = new ContainerModule((bind, unbind, isBound, rebind) => {
    .....
    bind(TYPES.SelectionListener).to(MyLabelNodeSelectionListener);
.....
That’s it! Now each time the user select our symbol the selection listener selects the label too. If the user selects the label she can move it around independent from the symbol.