
In this blog I show how to setup a Kubernetes Storage Volume with Ceph. I assume that you have installed already a kubernetes cluster with one master-node and at least three worker-nodes. On each worker node you need a free unmounted device used exclusively for ceph. Within the ceph cluster I setup a Ceph Filesystem (CephFS) that we can use as a storage volume for kubernetes.
Ceph
Ceph is a scalable network filesystem. This allows you to create a large, distributed storage solution on common hard ware. You can connect a Ceph storage to Kubernetes to abstract the volume from your services. You can install Ceph on any node this includes the kubernetes worker nodes. The following guide explains how to install Ceph on Debian 9. You will find detailed information about installation here. Also checkout the blog from RisingStack.
Install ceph-deploy
First install the ceph-deploy service on your master node. ceph-deploy will be used to install the ceph software on your worker nodes. See details here.
Running Debian I was only able deploy the ceph luminous release on Debian 9 (Stretch). When writing this blog the necessary packeges were not available for Debain 10 or newer ceph releases (e.g. nautilus).
Note: In the following example I will use ‘node1’ ‘node2’ ‘node3’ as node names. Make sure to replace this names with the short names of your cluster nodes.
Setup the Repositories
First you need to setup the debian package sources and install the ceph-deploy tool. On your Kubernetes master node run as non root user:
$ wget -q -O- 'https://download.ceph.com/keys/release.asc' | sudo apt-key add -
$ echo deb https://download.ceph.com/debian-luminous/ $(lsb_release -sc) main | sudo tee /etc/apt/sources.list.d/ceph.list
$ sudo apt-get update && sudo apt-get install ceph-deploy ntp
$ sudo /etc/init.d/ntp restart
Check the Ceph-Deploy version:
$ ceph-deploy --versionCreate a Ceph Deploy User
The ceph-deploy utility must login to a Ceph node as a user that has passwordless sudo privileges, because it needs to install software and configuration files without prompting for passwords.
If you do not have a non-previleged cluster user follow the next steps and replace ‘{username}’ with the name of our cluster user you have choosen.
$ useradd -m {username} -s /bin/bash
$ passwd {username}
$ echo "{username} ALL = (root) NOPASSWD:ALL" | sudo tee /etc/sudoers.d/{username}
$ sudo chmod 0440 /etc/sudoers.d/{username}
Next create a SSH key on the master node and distribute the public key to each worker node. Leave the passphrase and filename empty
# login with your cluster user
$ su {username}
$ ssh-keygen
The keys will be stored in the .ssh/ directory. Now you can copy the key to all worker nodes:
$ ssh-copy-id {username}@node1
$ ssh-copy-id {username}@node2
$ ssh-copy-id {username}@node3
For background information see also here.
Install a Ceph Cluster
Now as you have installed ceph-deplyo and created ssh access to your ceph nodes you can create a new ceph cluster. You can find details about this procedure here.
First create a working directory to store you configurations.
$ mkdir ceph-cluster
$ cd ceph-cluster
On your master node from the directory you created start to create the cluster:
$ ceph-deploy new node1 node2 node3You can verify the Ceph configuration in the file ‘ceph.conf’
$ cat ceph.confNext install Ceph packages:
$ ceph-deploy install --release luminous node1 node2 node3The ceph-deploy utility will install Ceph on each node.
Note: The release must match the release you have installed on your master node!
Deploy the initial monitor(s) and gather the keys:
$ ceph-deploy mon create-initialUse ceph-deploy to copy the configuration file and admin key to your admin node and your Ceph Nodes
$ ceph-deploy admin node1 node2 node3Deploy a manager daemon. (Required only for luminous+ builds):
$ ceph-deploy mgr create node1Next create metadata servers:
$ ceph-deploy mds create node1 node2 node3At this point, you can check your cluster status.. SSH into one of the ceph nodes and run:
$ sudo ceph status Create Object Store Daemons (OSDs)
Now you can create the OSDs on your ceph nodes. For the purposes of these instructions, I assume you have an unused disk in each node called /dev/vdb. Be sure that the device is not currently in use and does not contain any important data.
You can fetch a list a of available disks on a specific node:
$ ceph-deploy disk list node-1
Note: the device does not have to be mounted in a directory.
You can run multiple OSDs on the same host, but using the same storage drive for multiple instances is a bad idea as the disk’s I/O speed might limit the OSD daemons’ performance.
So just create on OSD on each node.
ceph-deploy osd create --data {device} {ceph-node}For example:
ceph-deploy osd create --data /dev/vdb node1
ceph-deploy osd create --data /dev/vdb node2
ceph-deploy osd create --data /dev/vdb node3
Check your cluster’s health.
$ ssh node1 sudo ceph health
HEALTH_OK
You ceph cluster is now ready to use!
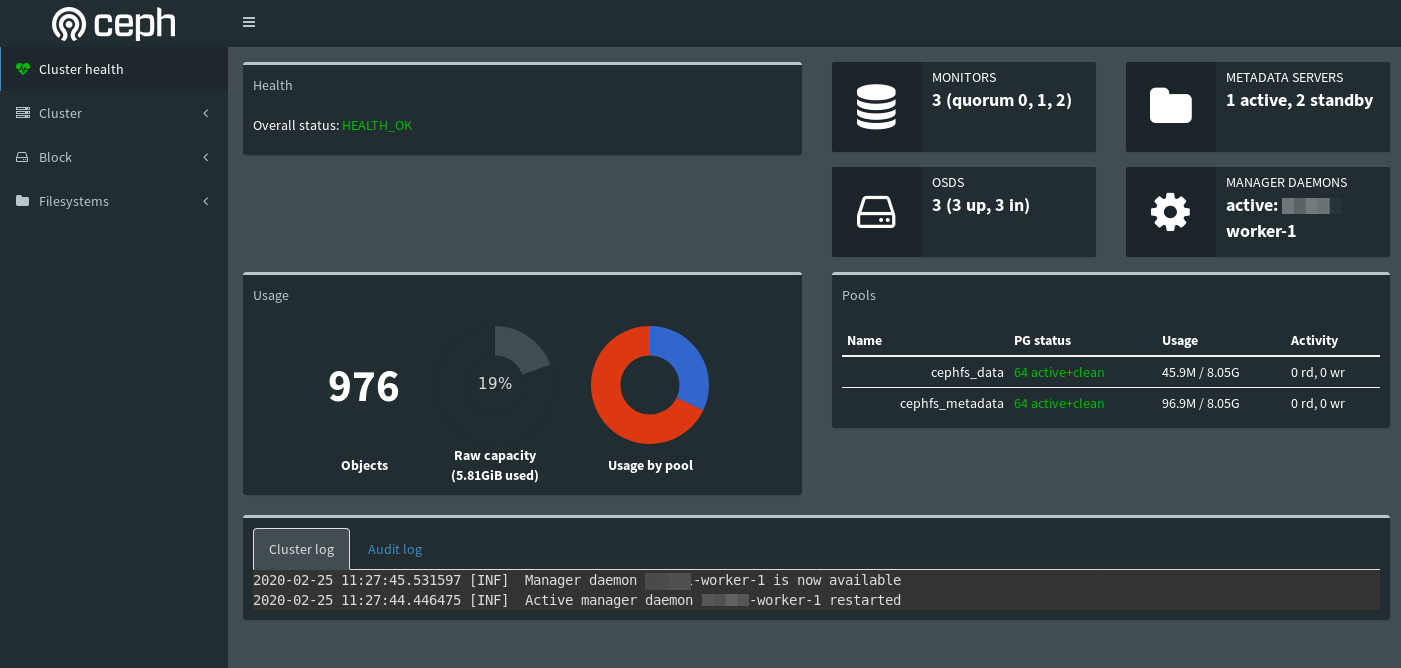
The Ceph Dashboard
Ceph comes with a nice web based dashboard allowing you to control your cluster from a web browser. To enable the dashboard connect to on of your cluster nodes and run:
$ sudo ceph mgr module enable dashboard
You can access the dashboard form the your webbrowser
http://node-1:7000/
To disable the dashboard run:
$ sudo ceph mgr module disable dashboardStarting over if something went wrong..
To me it happened that my installation failed several times and I was forced with the problem to wipe out also my logical volumes created in a previous installation.
If at any point you run into some trouble and you can delete everything and start over. Execute the following to purge the Ceph packages, and erase all its data and configuration:
$ sudo ceph-deploy purge node1 node2 node3
$ sudo ceph-deploy purgedata node1 node2 node3
$ sudo ceph-deploy forgetkeys
$ rm ceph.*
If you execute purge, you must re-install Ceph. The last rm command removes any files that were written out by ceph-deploy locally during a previous installation.
remove logical volumes from a ceph-node
If you need to remove a logical volume from a ceph-node you can use the following procedure (Note: this will erase all content from your device!)
List all logical volumes on a node:
$ sudo ceph-volume lvm listWipe out a logical device. (replace [device-name] with you device e.g. sdb)
$ sudo ceph-volume lvm zap /dev/[device-name] --destroy
# this should done it. If you still have problems wipe out the disk:
$ sudo dmsetup info -C
# copy the ceph dm name
$ sudo dmsetup remove [dm_map_name]
$ sudo wipefs -fa /dev/[device-name]
$ sudo dd if=/dev/zero of=/dev/[device-name] bs=1M count=1
CephFS for Kubernetes
To setup a CephFS to be used by your Kubernetes Cluster your need to create two RADOS pools, one for the actual data and one for the metadata. Connect to one of your ceph cluster nodes and create the pools:
$ sudo ceph osd pool create cephfs_data 64
$ sudo ceph osd pool create cephfs_metadata 64
The Pools will be replicated automatically to the other cluster nodes.
Next you can enable the filesystem feature
$ sudo ceph fs new cephfs cephfs_metadata cephfs_dataThe ceph setup is now completed so you can deploy a so called ceph-provisioner and a ceph-storageclass.
The CEPHFS-Provisioner
Before you can deploy the CephFS provisioner into you kubernetes cluster you first need to create a secret. With the following command you can get the ceph admin key out from one of your ceph nodes:
$ sudo ssh node1 ceph auth get-key client.admin
ABCyWw9dOUm/FhABBK0A9PXkPo6+OXpOj9N2ZQ==
Copy the key and create a kubernetes secret named ‘ceph-secret’:
 $ kubectl create secret generic ceph-secret-admin \
    --from-literal=key='ABCyWw9dOUm/FhABBK0A9PXkPo6+OXpOj9N2ZQ==' \
    --namespace=kube-system
secret/ceph-secret created
I am running the cephfs in the kubernetes system namespace ‘kube-sytem’. But you can run it also in a separate namespace.
So next create a the cephfs-provisoner.yaml file holding the role bindings:
kind: ClusterRole
apiVersion: rbac.authorization.k8s.io/v1
metadata:
  name: cephfs-provisioner
  namespace: kube-system
rules:
  - apiGroups: [""]
    resources: ["persistentvolumes"]
    verbs: ["get", "list", "watch", "create", "delete"]
  - apiGroups: [""]
    resources: ["persistentvolumeclaims"]
    verbs: ["get", "list", "watch", "update"]
  - apiGroups: ["storage.k8s.io"]
    resources: ["storageclasses"]
    verbs: ["get", "list", "watch"]
  - apiGroups: [""]
    resources: ["events"]
    verbs: ["create", "update", "patch"]
  - apiGroups: [""]
    resources: ["services"]
    resourceNames: ["kube-dns","coredns"]
    verbs: ["list", "get"]


---
kind: ClusterRoleBinding
apiVersion: rbac.authorization.k8s.io/v1
metadata:
  name: cephfs-provisioner
subjects:
  - kind: ServiceAccount
    name: cephfs-provisioner
    namespace: kube-system
roleRef:
  kind: ClusterRole
  name: cephfs-provisioner
  apiGroup: rbac.authorization.k8s.io


---
apiVersion: rbac.authorization.k8s.io/v1
kind: Role
metadata:
  name: cephfs-provisioner
  namespace: kube-system
rules:
  - apiGroups: [""]
    resources: ["secrets"]
    verbs: ["create", "get", "delete"]
  - apiGroups: [""]
    resources: ["endpoints"]
    verbs: ["get", "list", "watch", "create", "update", "patch"]


---
apiVersion: rbac.authorization.k8s.io/v1
kind: RoleBinding
metadata:
  name: cephfs-provisioner
  namespace: kube-system
roleRef:
  apiGroup: rbac.authorization.k8s.io
  kind: Role
  name: cephfs-provisioner
subjects:
- kind: ServiceAccount
  name: cephfs-provisioner


---
apiVersion: v1
kind: ServiceAccount
metadata:
  name: cephfs-provisioner
  namespace: kube-system


---
apiVersion: apps/v1
kind: Deployment
metadata:
  name: cephfs-provisioner
  namespace: kube-system
spec:
  replicas: 1
  selector:
    matchLabels:
      app: cephfs-provisioner
  strategy:
    type: Recreate
  template:
    metadata:
      labels:
        app: cephfs-provisioner
    spec:
      containers:
      - name: cephfs-provisioner
        image: "quay.io/external_storage/cephfs-provisioner:latest"
        env:
        - name: PROVISIONER_NAME
          value: ceph.com/cephfs
        - name: PROVISIONER_SECRET_NAMESPACE
          value: kube-system
        command:
        - "/usr/local/bin/cephfs-provisioner"
        args:
        - "-id=cephfs-provisioner-1"
      serviceAccount: cephfs-provisioner
Create the provisioner with kubectl:
$ kubectl create -n kube-system -f ceph/cephfs-provisioner.yamlNext create the cephfs-storageclass.yaml file:
kind: StorageClass
apiVersion: storage.k8s.io/v1
metadata:
  name: cephfs
provisioner: ceph.com/cephfs
parameters:
  # replace the {node-1}.. with the IP addresses of you ceph nodes
  monitors: {node-1}:6789, {node-2}:6789, {node-3}:6789
  adminId: admin
  # replace the ceph-admin-secret with a kubernetes secret holding your ceph client.admin key
  adminSecretName: {ceph-admin-secret}
  adminSecretNamespace: kube-system
  claimRoot: /pvc-volumes
Within this file replace the node-1-3 with the IP addresses of your ceph cluster.
Create the storageclass with:
$ kubectl create -n kube-system -f cephfs-storageclass.yaml To check your new deployment run:
$ kubectl get pods -l app=cephfs-provisioner -n kube-system
NAME                               READY   STATUS    RESTARTS   AGE
cephfs-provisioner-7ab15bd-rnxx8   1/1     Running   0          96s
The PersistentVolumeClaim
As you now have created a cephFS with the corresponding storageClass in your kubernetes cluster you are ready to define a so called PersistentVolumeClaim (PVC). A PVC is part of your pods. The PVC will create the persistence volume automatically associated with your pod.
The following is an example how to create a volume claim for the CephFS within a pod.
volumeclaim.yaml:
kind: PersistentVolumeClaim
apiVersion: v1
metadata:
  name: mydata
#  namespace: cephfs
spec:
  storageClassName: cephfs
  accessModes:
    - ReadWriteMany
  resources:
    requests:
      storage: 1Gi
Within a deployment you can than mount a volume based on this claim. See the following example:
When you create the volumeclaim with
$ kubectl create -f volumeclaim.yaml… you can finally test the status of your persistent volume claim:
$ kubectl get pvc
NAME          STATUS    VOLUME                                     CAPACITY   ACCESS MODES   STORAGECLASS   AGE
mydata     Bound     pvc-060e5142-f915-4385-8e86-4166fe2980f6   1Gi        RWO            fast-rbd       27m
In your pod deployment (e.g. a database server) you can now define the volume based on your volume claim.
apiVersion: apps/v1
kind: Deployment
.....
spec:
  ....
  template:
    ....
    spec:
      containers:
      .....
        volumeMounts:
        - mountPath: /var/lib/myapp/data
          name: mydata
      restartPolicy: Always
      volumes:
      - name: mydata
        persistentVolumeClaim:
          claimName: mydata
....
Hi Ralph,
I am trying to mount CephFS on kubernetes. I am able to mount the CephFS using pod deployment. But it’s not taking the same storage amount which I have set in PVC yaml file. It’s taking the total storage capacity of my ceph cluster. Please provide a solution on the same.
Thanks and best regards.
Akshay
Hi, I’m having a problema on my pvc because the ceph client is from jewel version.
What I need to check to upgrade them to Nautilus?
@Bruno Emanuel: I switched to Octopus using the new docker bases setup which seems to me is much easier.
See here: https://ralph.blog.imixs.com/2020/04/14/ceph-octopus-running-on-debian-buster/
In my Github project Imixs-Cloud I added some more documentation.
See here: https://github.com/imixs/imixs-cloud/blob/master/doc/STORAGE.md
and here: https://github.com/imixs/imixs-cloud/blob/master/doc/CEPH.md
Personally I switched form ceph to longhorn which integrates into Kubernetes much better. If you have questions you can also open an issue directly in the github project Imixs-Cloud.
Thanks @Ralph Solka, I’ll check it.
Ah ok, but my problem is the provisioner, based on an older image -> “quay.io/external_storage/cephfs-provisioner:latest”
My CEPH Storage is Nautilus.
As I can see ceph-provisioner from quay.io/external_storage/cephfs-provisioner:latest is very outdated, so it won’t work with never k8s releases. I replaced it by image from https://hub.docker.com/r/elementalnet/cephfs-provisioner/tags?page=1&ordering=last_updated .