
In my last blog I explained how to run the CockroachDB in a local dev environment with the help from docker-compose. Now I want to show how to setup a CockroachDB cluster in Kubernetes.
The CockroachDB is a distributed SQL database with a build in replication mechanism. This means that the data is replicated over several nodes in a database cluster. This increases the scalability and resilience in the case that a single node fails. With its Automated-Repair feature the database also detects data inconsistency and automatically fixes faulty data on disks. The project is Open Source and hosted on Github.
Supporting the PostgreSQL wire protocol, CockroachDB can be used out of the box for the Java Enterprise Applications and Microservices using the standard PostgresSQL JDBC driver.
Note: CockroachDB does not support the isolation level of transactions required for complex business logic. For that reason the Imixs-Workflow project does NOT recommend the usage of CockroachDB. See also the discussion here.
Preconditions
For this tutorial I assume that you have already a Kubernetes cluster up and running. It is important hat you have full control over your nodes and the underlying disc system. If you are not familiar with the setup of a Kubernetes cluster follow the Imixs-Cloud project. It shows an easy way to setup and maintain a self managed Kubernetes cluster environment. The official user guide, how to install CockroachDB on Kubernetes can be found here.
Using Local Disks
The most important part for this setup is the usage of local disk storage on each node CockroachDB will be deployed on. CockroachDB makes heavy use of the disks, so using faster disks is important to improve the cluster’s performance.
In Kubernetes you typically use persistent volumes that are replicated by an external volume provider like Longhorn or Ceph. Because CockroachDB already replicates data automatically, this additional layer of replication is unnecessary and can negatively impact performance. For a High-performance solution I choose to run CockroachDB in a DaemonSet using local disk storage with the concept of the Kuberentes hostPath.
The Deployment
The deployment objects are provided in .yaml files and can be deployed with the kubectl command line tool. I split up the deployment configuration into several files to separate different aspects:
.
└── cockroachdb
    ├── 020-daemonset.yaml
    └── 030-ingress.yaml
The DeamonSet
A DaemonSet is a Kubernetes type that runs a pod on all nodes matching some selection criteria. You can use the concept of the DaemonSet to ensure that CockroachDB is deployed automatically on all nodes in your cluster – or on nodes with a special selection criteria.
With the concepts of Node affinities and Taints and Tolerations a DaemonSet gives you a fine grained tool to define which nodes in your cluster should be part of your CockroachDB. You also can later expand your cluster by adding nodes fulfilling the selection criteria. Details about running CockroachDB in a Daemonset can be found here.
First download the template file cockroachdb-daemonset-secure.yaml from the Cockroach project and copy the content into the file “020-daemonset.yaml”. Next you need to edit this file like explained in the following sections:
The nodeSelector
Uncomment the nodeSelector section if you don’t want to run CockroachDB on dedicated nodes or add additional labels if you need a fine grained node affinity:
     ....
      # Node affinities
      nodeSelector:
        app: cockroachdb
The Resource Requests & Limits
Also uncomment or refine the resources requests and limits if you run CockroachDB together with other PODs on one node.
     ....
        resources:
          requests:
            cpu: "2"
            memory: "2Gi"
          limits:
            cpu: "2"
            memory: "2Gi"
The Start Command
And finally you need to edit the Cockroach start command:
     ....
          - "exec
             /cockroach/cockroach
             start
             --logtostderr
             --certs-dir /cockroach/cockroach-certs
             --http-addr 0.0.0.0
             --cache 25%
             --max-sql-memory 25%
             --join=YOUR_IP_ADDR1_HERE,YOUR_IP_ADDR2_HERE,YOUR_IP_ADDR3_HERE"
edit the –join flag and ad some of the IP addresses of your worker nodes. This is necessary to bootstrap the cluster.
The hostPath
finally edit the volumes section with the hostPath location. This is the directory the CockroachDB will store its local data on your Kuberetnes nodes:
    .....
      volumes:
      - name: datadir
        hostPath:
          path: /var/lib/cockroachdb
Note: the hostPah location is identically for all nodes.
Init the Cluster
Now you can run the deployment:
$ kubectl apply -f 020-daemonset.yamlAfter you have deployed the DaemonSet your CockroachDB is not yet running. First you need to approve the certificates created during the deployment. You can check the status of the new certificates with:
$ kubectl get csr
NAME                             AGE   SIGNERNAME                     REQUESTOR                                   CONDITION
default.node.cockroachdb-0   1s    kubernetes.io/legacy-unknown   system:serviceaccount:default:cockroachdb   Pending
default.node.cockroachdb-1   1s    kubernetes.io/legacy-unknown   system:serviceaccount:default:cockroachdb   Pending
default.node.cockroachdb-2   1s    kubernetes.io/legacy-unknown   system:serviceaccount:default:cockroachdb   Pending
To approve the certificates run:
$ kubectl certificate approve default.node.cockroachdb-0
$ kubectl certificate approve default.node.cockroachdb-1
$ kubectl certificate approve default.node.cockroachdb-2
Now you can init the cluster. Create a file cluster-init-secure.yaml with the following content:
apiVersion: batch/v1
kind: Job
metadata:
  name: cluster-init-secure
  labels:
    app: cockroachdb
spec:
  template:
    spec:
      serviceAccountName: cockroachdb
      initContainers:
      # The init-certs container sends a certificate signing request to the
      # kubernetes cluster.
      # You can see pending requests using: kubectl get csr
      # CSRs can be approved using:         kubectl certificate approve <csr name>
      #
      # In addition to the client certificate and key, the init-certs entrypoint will symlink
      # the cluster CA to the certs directory.
      - name: init-certs
        image: cockroachdb/cockroach-k8s-request-cert:0.4
        imagePullPolicy: IfNotPresent
        command:
        - "/bin/ash"
        - "-ecx"
        - "/request-cert -namespace=${POD_NAMESPACE} -certs-dir=/cockroach-certs -type=client -user=root -symlink-ca-from=/var/run/secrets/kubernetes.io/serviceaccount/ca.crt"
        env:
        - name: POD_NAMESPACE
          valueFrom:
            fieldRef:
              fieldPath: metadata.namespace
        volumeMounts:
        - name: client-certs
          mountPath: /cockroach-certs
      containers:
      - name: cluster-init
        image: cockroachdb/cockroach:v20.2.7
        imagePullPolicy: IfNotPresent
        volumeMounts:
        - name: client-certs
          mountPath: /cockroach-certs
        command:
          # TODO: Replace the HOST_IP_ADDR  with the first onf of your worker nodes
          - "/cockroach/cockroach"
          - "init"
          - "--certs-dir=/cockroach-certs"
          - "--host=HOST_IP_ADDR"
      restartPolicy: OnFailure
      volumes:
      - name: client-certs
        emptyDir: {}
Note: replace the HOST_IP_ADDR with the IP of one of your nodes CockroachDB is deployed to. Run the init script with:
$ kubectl create -f cluster-init-secure.yamlNow your cluster is up and running! You can delete the cluster-init-secure.yaml file as it is only needed once.
The Web Frontend – Ingress
If you have an NGINX Ingress controller in your Kubernetes Cluster, you can define a Ingress file “030-ingress.yaml” like in the following example to expose the CockroachDB Web UI:
kind: Ingress
apiVersion: networking.k8s.io/v1
metadata:
  name: cockroachdb-ui
  namespace: default
  annotations:
    cert-manager.io/cluster-issuer: "letsencrypt-staging"
    nginx.ingress.kubernetes.io/backend-protocol: "HTTPS"
spec:
  tls:
  - hosts:
    - cockroachdb.foo.com
    secretName: tls-cockroachdb-ui
  rules:
  - host: cockroachdb.foo.com
    http:
      paths:
      - path: /
        pathType: Prefix
        backend:
          service:
            name: cockroachdb-public
            port:
              name: http
Replace cockroachdb.foo.com with your own public Internet Domain Name.
Deploy the ingress object:
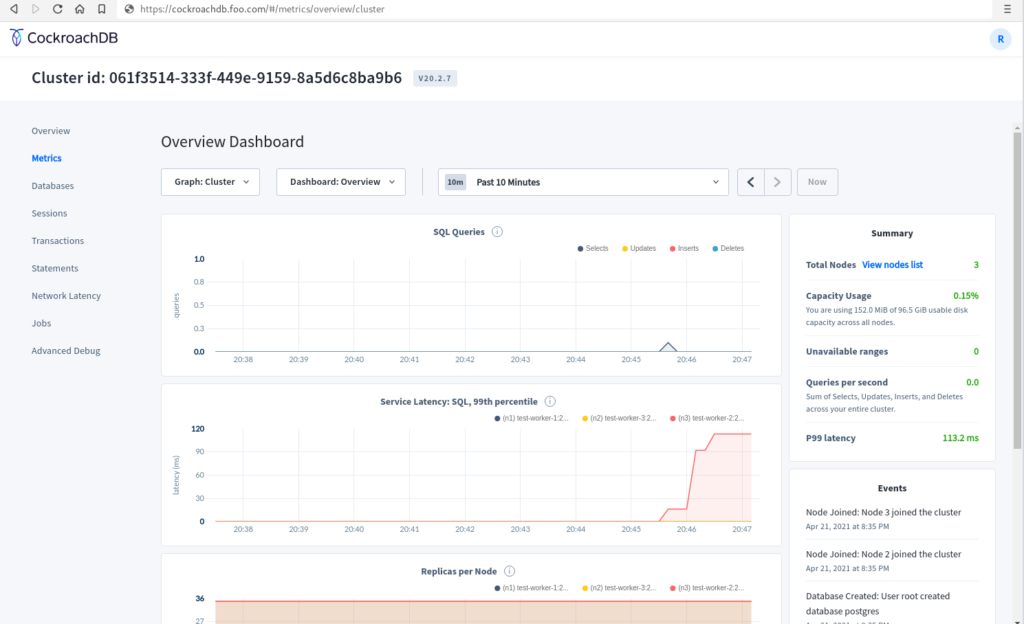
$ kubectl apply -f 030-ingress.yamlNow you can access the CockroachDB Web UI form your browser. To login you first need to create an admin user.
Create an Admin User
To use the built-in SQL client, you need to launch a pod that runs indefinitely with the cockroach binary inside it, get a shell into the pod, and then start the built-in SQL client.
$ kubectl create \
-f https://raw.githubusercontent.com/cockroachdb/cockroach/master/cloud/kubernetes/client-secure.yaml
Next you can start the CockroachDB built-in SQL client by using shell into the client pod:
$ kubectl exec -it cockroachdb-client-secure \
-- ./cockroach sql \
--certs-dir=/cockroach-certs \
--host=cockroachdb-public
from here you can create a user and grant the user admin rights:
CREATE USER roach WITH PASSWORD 'Q7gc8rEdS';
GRANT admin TO roach;
With the new user and password you can now login to the CockroachDB Web UI:
Creating a Database
Also with the help of the CockroachDB SQL client you can create a database:
CREATE DATABASE myfirstdb;and you can create table schemas or inspect the system.